How the Y-Balance Test Calculator Works
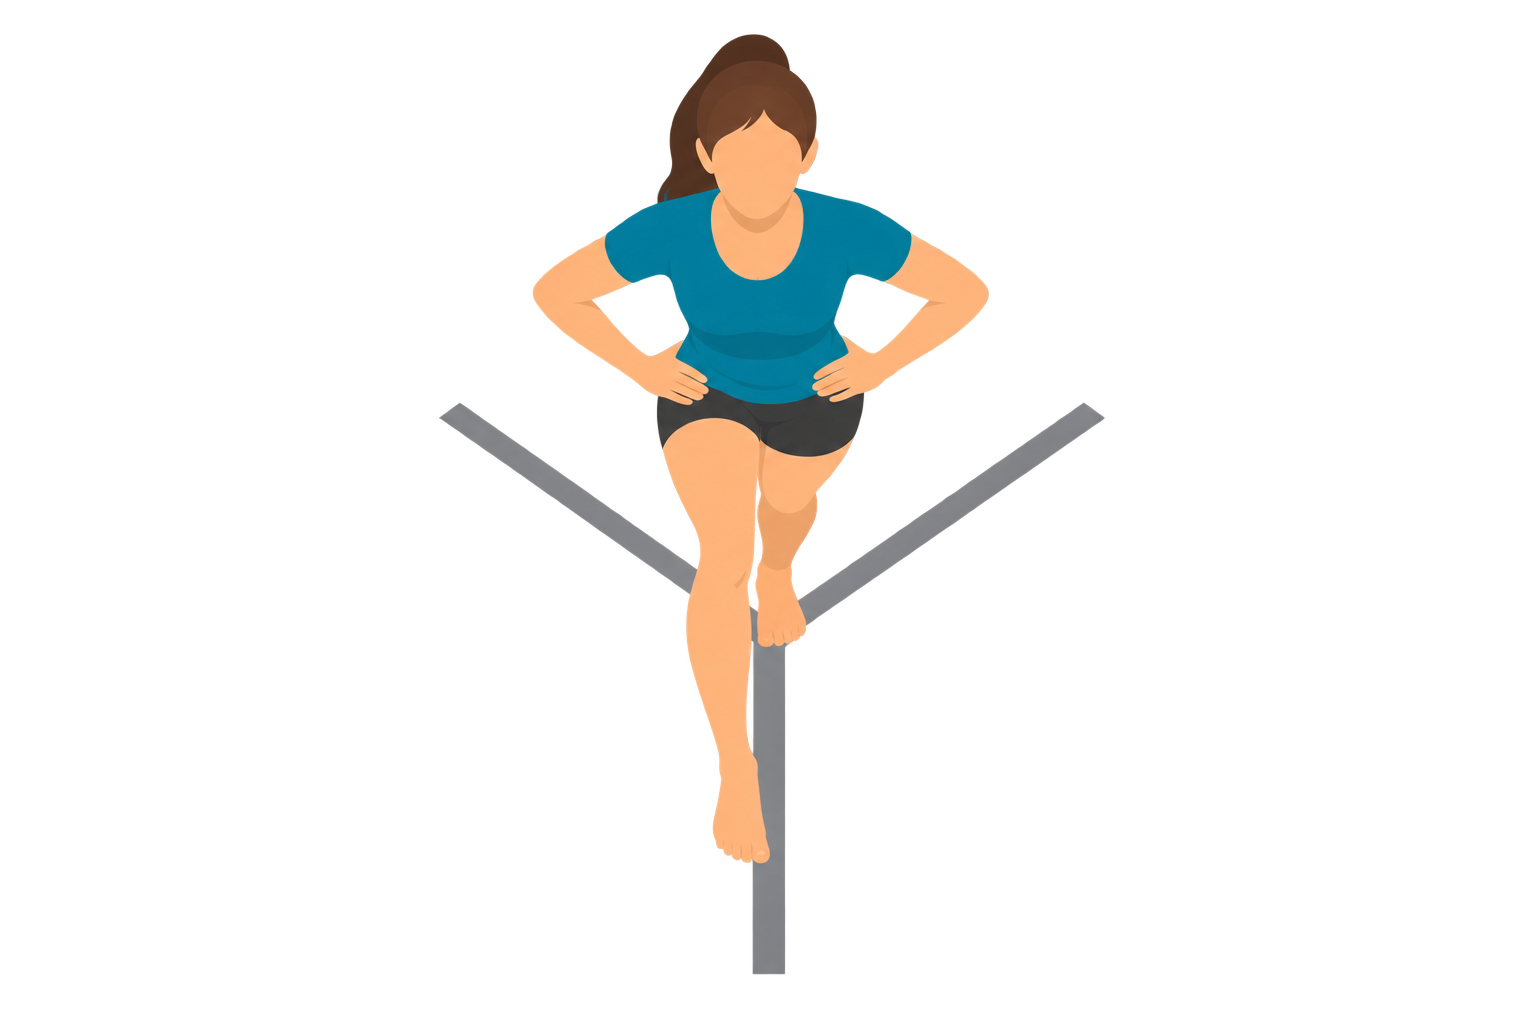
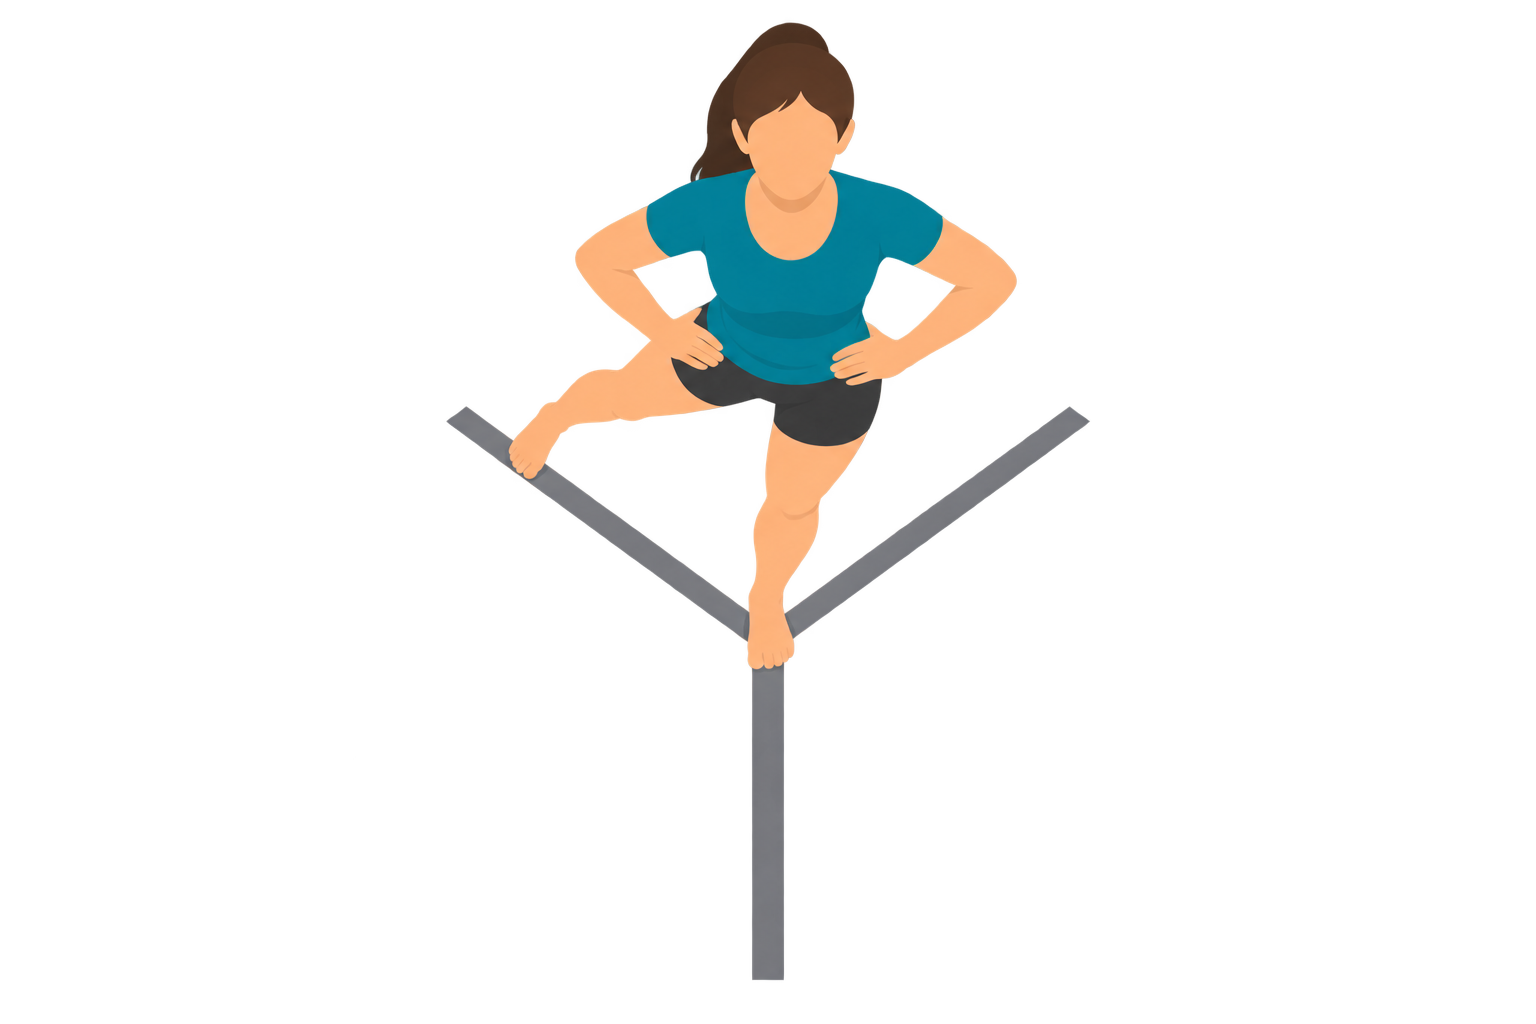
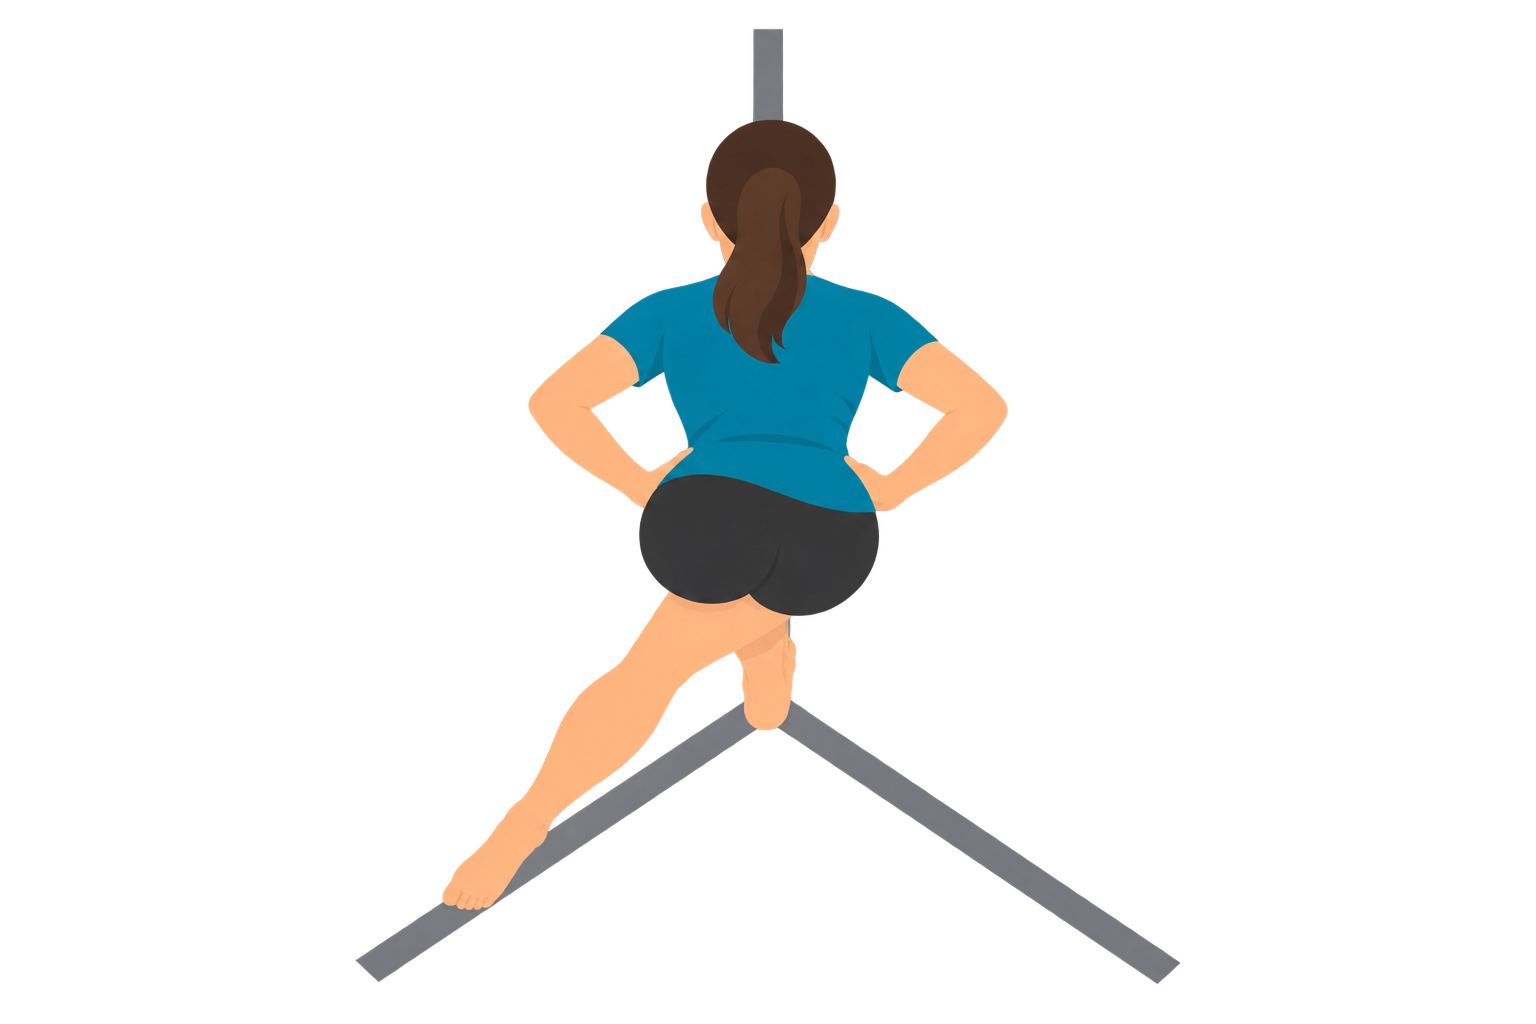
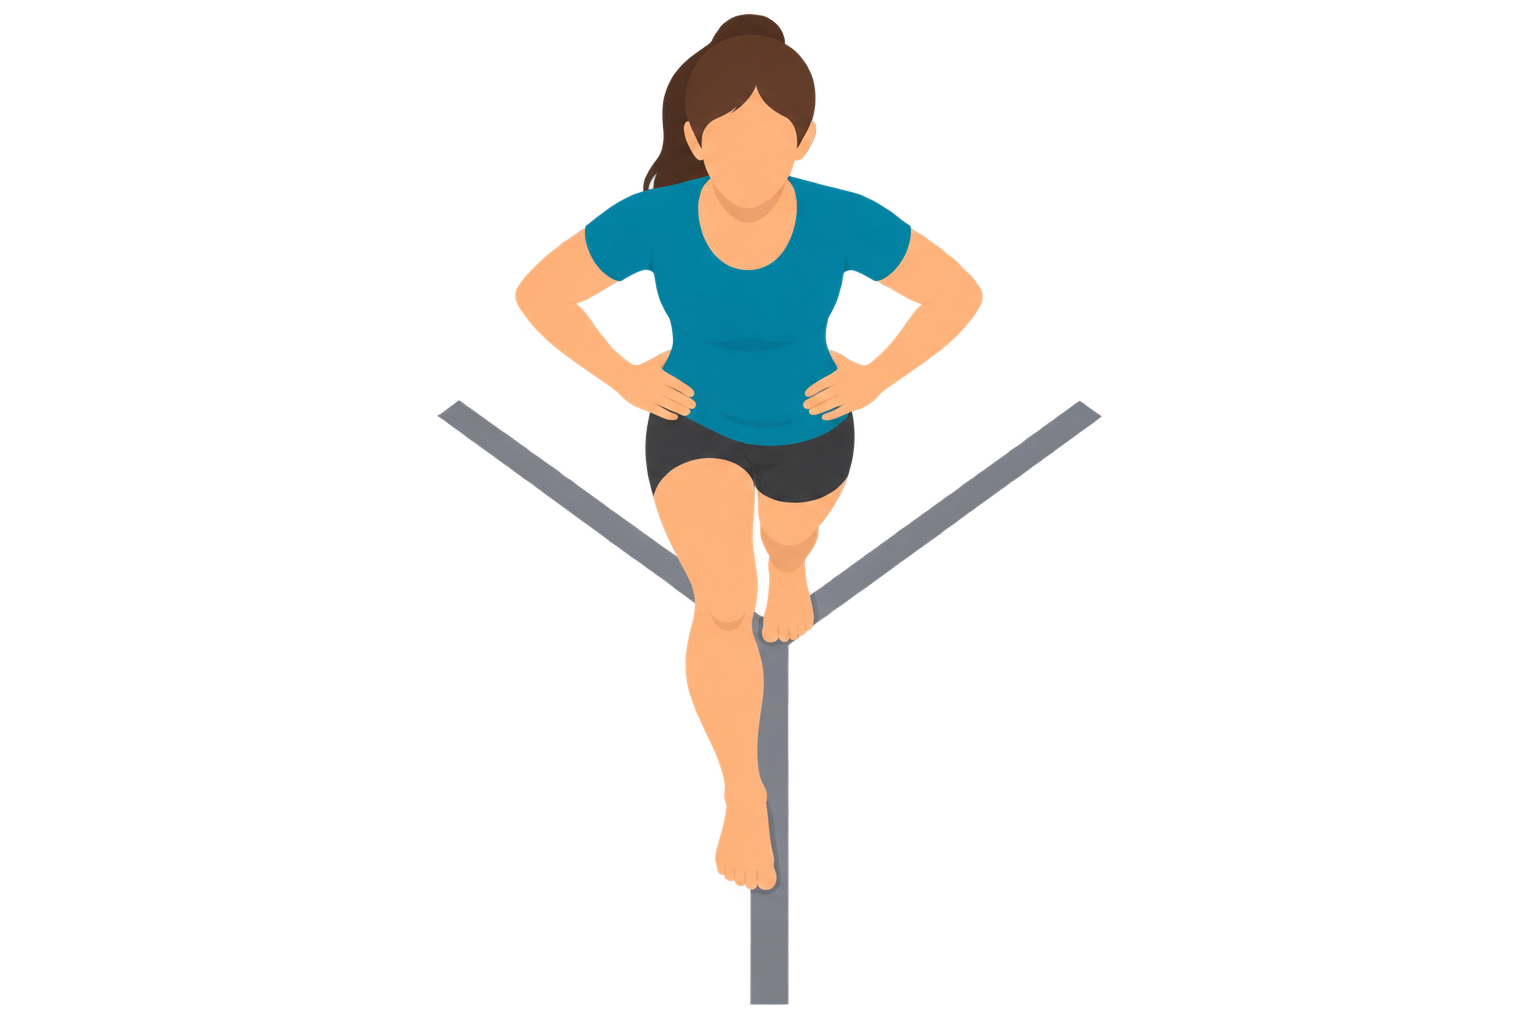
The Y-Balance Test (YBT) measures dynamic balance — control of the body while it is moving, not just held still. Standing on one leg, you reach as far as you can with the other foot along three lines that form a “Y”: one forward (anterior) and two back at angles (posteromedial and posterolateral). How far you can reach while staying balanced reflects your strength, mobility, and control on the standing leg. This is the Lower Quarter version (YBT-LQ), the one used for the legs.
It grew out of the
Star Excursion Balance TestAn older multi-direction reach test (the SEBT) that the YBT standardized and simplified into three directions with a fixed measuring device, improving its consistency between testers.,
and unlike the static balance tests on this site — where you simply hold a position — the YBT is built around comparing your two legs and flagging meaningful side-to-side differences.
Step 1: Measure Your Limb Length
Reach distances mean little on their own — a taller person reaches further simply because their legs are longer. To compare fairly, every reach is expressed as a percentage of
limb lengthMeasured from the anterior superior iliac spine (the bony bump at the front of the hip) to the medial malleolus (the inner ankle bone), while lying down..
You measure once, from the front hip bone to the inner ankle bone, and the calculator uses it to normalize both legs.
Step 2: Reach in Three Directions
- Balance on one leg — the stance leg, the one being tested — with your foot at the center.
- Reach as far as you can with the free foot along each line (anterior, then posteromedial, then posterolateral), lightly pushing the reach marker without resting weight on it, then return to a controlled two-foot stance.
- A reach doesn’t count if you lose balance, put weight on the reaching foot, push the marker rather than touch it, or can’t return under control.
- Practice first: the standard protocol uses six practice trials in each direction, on each leg, before anything is scored. Reach scores climb over the first attempts as you learn the movement, so skipping this understates your result.
- Then take the best of three good scored trials in each direction, for each leg.
Step 3: Normalize and Score
Each reach is converted to a percentage of limb length:
Normalized reach = (reach ÷ limb length) × 100
The three directions are then combined into a single
composite scoreOne number summarising overall reach for a leg, normalized to limb length so it can be compared between people and against reference thresholds.
for each leg:
Composite = [(Anterior + Posteromedial + Posterolateral) ÷ (3 × limb length)] × 100
Step 4: Compare Left to Right
The most useful signal the YBT gives is not how far you reached, but how evenly your two legs perform. The headline number is your anterior asymmetry — the raw difference between your left and right forward reaches:
Anterior asymmetry = | Right anterior reach − Left anterior reach |
This is kept in real distance (centimeters or inches), not a percentage, because the best-known injury-risk threshold is defined in centimeters. The calculator also reports the composite difference between legs, in percentage points.
Reading the Reference Thresholds
The calculator checks your result against two widely cited thresholds and marks each as
within reference or
above / below reference:
- Anterior asymmetry of 4 cm or more — a left/right forward-reach gap this large has been linked to higher lower-limb injury risk.
- Composite below 94% of limb length — a low overall reach score has been linked to higher injury risk. Note that in the original study this finding was established in the girls; the anterior-asymmetry threshold applied to the players overall.
Both come from Plisky and colleagues’ 2006 study of high-school basketball players, where girls below the 94% composite were 6.5 times more likely to be injured and players of either sex with more than 4 cm of anterior asymmetry were 2.5 times more likely. That origin matters: these numbers are the common default, not a universal standard. In collegiate American football, for instance, a lower composite cut-off (around 89.6%) fit better, and the anterior-asymmetry threshold didn’t predict injury at all. Reviews of the test are explicit that the right cut points depend on age, sex, and sport. The calculator therefore presents these as reference flags, not a verdict.
Why Asymmetry Leads, and Why There Are No Tiers
You’ll notice this calculator does not sort you into “poor” to “excellent” bands the way a percentile-based test would. That is deliberate, and it comes down to honesty about the data:
- There is no single population norm. Reach scores differ markedly by sport, sex, age, and even country, and the published reference datasets cover specific groups (basketball players, soldiers, particular sports) rather than people in general. Inventing a universal tier scale would imply a precision the evidence doesn’t support.
- Asymmetry is a fairer signal. Comparing your two legs to each other sidesteps the question of which population’s norm applies to you — your own opposite leg is the most relevant comparison there is. That is why the left/right difference is the headline, and the composite is shown as an honest number against a clearly-labeled reference line.
The Reach Profile and Breakdown
- Reach Profile (radar) — plots normalized reach in all three directions for both legs. The shape is normally lopsided — a short anterior reach with longer posterior reaches — and that’s expected. Gaps between the blue (left) and purple (right) outlines show your asymmetry at a glance.
- Reach Breakdown (table) — the raw reach, the normalized percentage, and the left/right difference for each direction, with anterior highlighted and the composite on the bottom row.
A Note on Limb Length
The standard protocol measures limb length on each leg separately. This calculator asks for one measurement and applies it to both, which keeps the form simple and is close enough for most people — but if your legs differ noticeably in length, both composite percentages will be shifted slightly, and comparing them to each other becomes less exact. The anterior-asymmetry check is unaffected either way, because it compares raw reach distances and never divides by limb length.
What Affects Your Score
- Technique and protocol details — Whether the hands stay on the hips or move freely, and whether the stance heel is allowed to lift, both change reach scores enough to move some people across a threshold. Keep your method consistent if you want to compare over time.
- Mobility and strength — Ankle, hip, and trunk mobility and the strength of the hip and thigh muscles all feed into how far you can reach with control.
- Warm-up, footwear, and fatigue — Reaches are typically done barefoot after a warm-up; tiredness and surface affect control.
- Practice — Scores improve over the first few attempts as you learn the movement, which is why practice trials precede the scored ones.
Data Sources
- Plisky PJ, et al. (2006). Star Excursion Balance Test as a predictor of lower extremity injury in high-school basketball players — origin of both reference thresholds: anterior asymmetry greater than 4 cm (2.5× injury risk, players overall) and composite below 94% of limb length (6.5×, established in the girls).
- Butler RJ, et al. (2013). Collegiate American football — found a lower composite cut-off (~89.6%) and no predictive value for anterior asymmetry, illustrating how cut points shift by population.
- Plisky PJ, et al. (2021). Systematic review and meta-analysis of the YBT-LQ — confirms good reliability and that predictive cut points vary by age, sex, and sport.
- Protocol & measurement — limb length measured from the anterior superior iliac spine to the medial malleolus, the standard YBT-LQ method.
Limitations and Important Caveats
This calculator turns reach measurements into a symmetry and reference-threshold screen. It cannot do more than that:
- It is a screen, not a prediction. Meeting the thresholds lowers the odds of injury in the studied groups; it does not guarantee safety, and being flagged does not mean injury is coming.
- The thresholds are population-specific. The 4 cm / 94% defaults fit high-school basketball; your sport, age, and sex may warrant different numbers, and clinicians usually combine the YBT with other tests rather than relying on it alone.
- Measurement quality matters. Inconsistent technique, an unmarked or improvised reach setup, or a rough limb-length measurement all reduce accuracy. Results are most meaningful when the method is standardized and repeated.
- It reflects one session. A single test is a snapshot; a trend across sessions, especially through rehab or training, is more informative.
Disclaimer:
This calculator scores the Lower Quarter Y-Balance Test against published injury-risk reference thresholds. It is for general informational and fitness-screening purposes only and is not a medical assessment, a diagnosis, or a prediction of injury. Always test in a safe space with stable support within reach, and stop if you feel unstable or experience pain. The reference thresholds are drawn from specific athletic populations and may not apply to you; a result on this test should not, on its own, drive decisions about training or returning to sport. If you have pain, a current or recent injury, or are rehabilitating one, consult a qualified healthcare or sports-medicine professional. This tool does not replace professional assessment.